The first photograph I ever took underwater was terrible. A blurry, backscatter-filled shot of what might have been a lionfish, or a rock, or a very disappointed sea slug. I did not care. I was hooked.
Underwater photography teaches you to move differently: slower, more deliberate, hovering without finning so you do not kick silt. It makes you a better diver before it makes you a better photographer. That alone is reason enough to start.
Starting Point: Action Cameras
The GoPro HERO series remains the gateway drug for most underwater photographers. Waterproof to 10 metres without a housing, compact, and capable of genuinely good video, a GoPro mounted on a wrist or chest rig is a reasonable first step. The limitations become apparent quickly: no real manual control, wide angle only, poor low-light performance. But for reef overviews and travel documentation, they work.
The DJI Osmo Action 4 is a competitive alternative with better colour science and a front-facing screen, which helps for selfie-style documentation.
The Step Up: Compact Camera + Housing
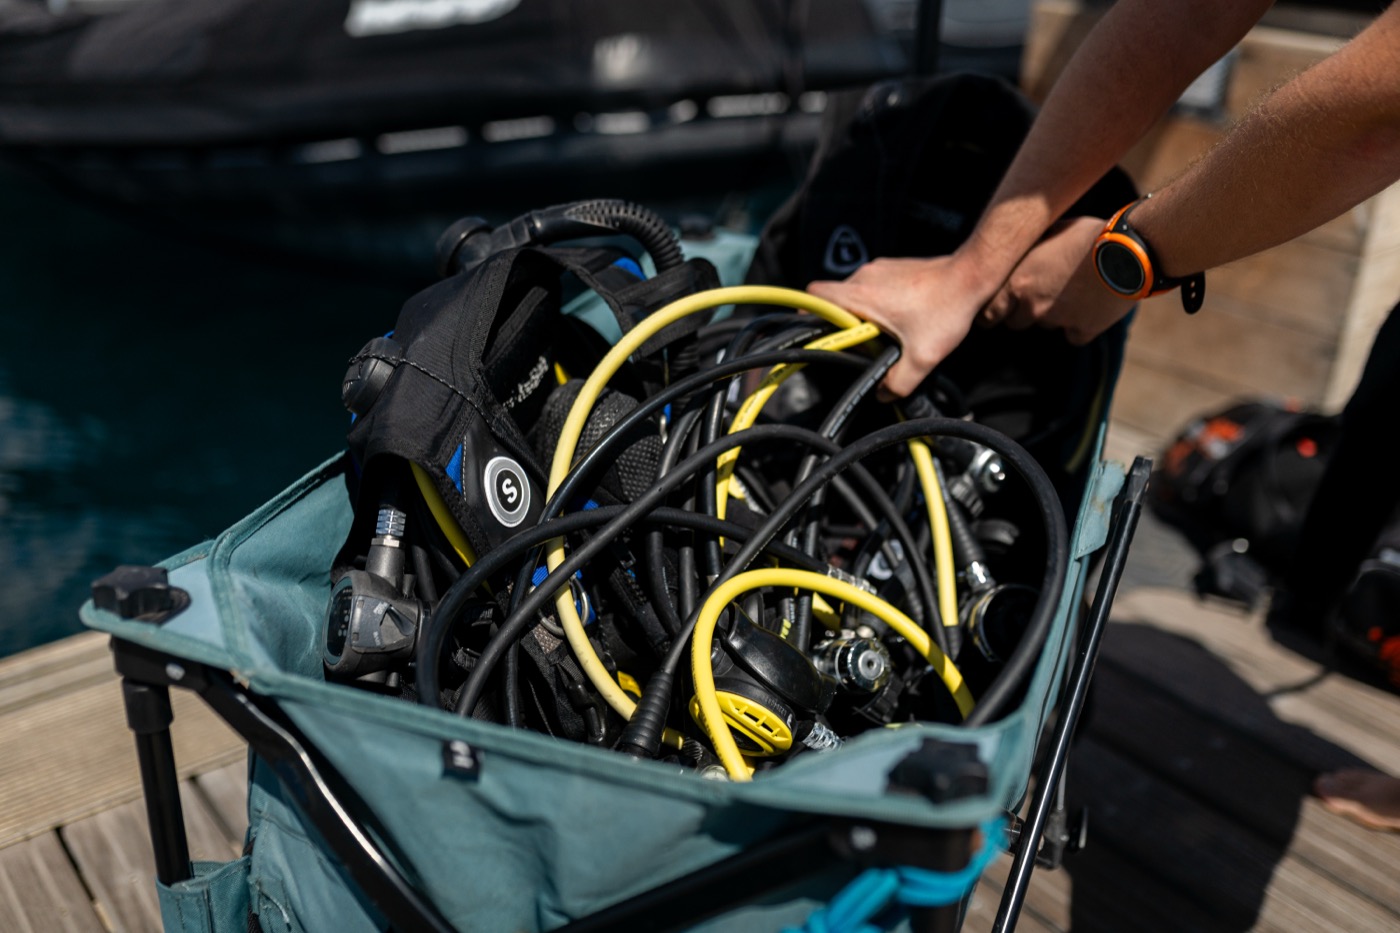
Once you want more control, you need a dedicated compact camera in an underwater housing. The combination of a Sony RX100 series or an Olympus TG-7 inside a manufacturer housing opens up manual settings, RAW shooting, and the ability to add strobes.
This is where most serious amateur underwater photographers live, and where the best value per image quality sits. A full setup (camera, housing, two arms, two strobes) can be assembled for around $1,500-2,500.
Strobes: Why They Matter
Water absorbs red and warm tones within the first few metres of depth. A photograph taken at 15 metres with available light looks green-blue and flat. A strobe fires a full-spectrum burst of light at the subject, restoring colour and revealing detail that the ambient environment strips away.
Two strobes mounted on adjustable arms give you control over shadows and allow you to light subjects from the side, dramatically improving the dimensionality of your images. Single-strobe setups are fine for starting out but create harsh shadows on one side.
Wide Angle vs. Macro
Most beginners default to wide angle: reef shots, diver silhouettes, the enormous manta passing above. Wide angle is forgiving in terms of focus and gives a sense of the underwater environment.
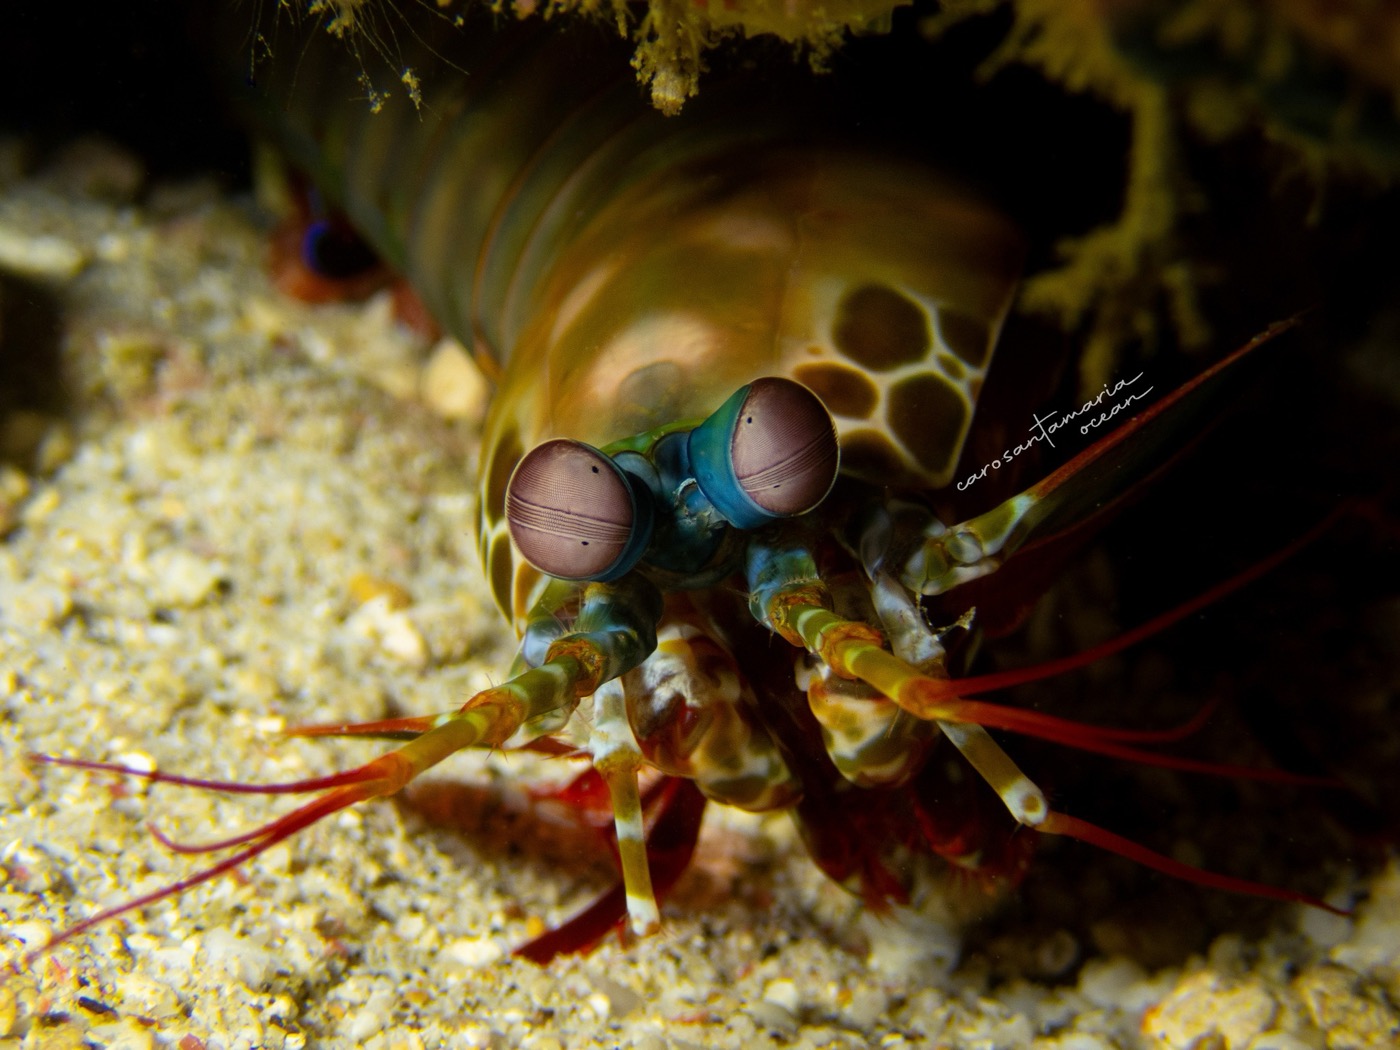
Macro is where underwater photography becomes genuinely addictive. A 60mm or 100mm macro lens inside a housing with a wet dioptre on the port allows you to photograph nudibranch rhinophores, cleaner shrimp antennae, the texture of coral polyps at full extension. The world opens up in miniature. If you want to start macro without committing to a full housing system, the Olympus TG-6 with a pair of video lights is a purpose-built macro setup that outperforms its price point significantly.
A good underwater photographer uses both. Learn wide angle first; let macro come to you.
Buoyancy Is the Skill No Tutorial Mentions
No camera setup will produce good images if your buoyancy is poor. Blurry subjects, kicked-up silt, stressed animals: these are buoyancy problems, not camera problems. Before you invest in a housing, invest in a hundred dives without one.
The best underwater photograph is the one you were calm enough to take. A dive torch is the other piece of kit that changes the images you come home with, essential for macro work in crevices and indispensable on night dives like the whitetip shark dives at Malpelo.