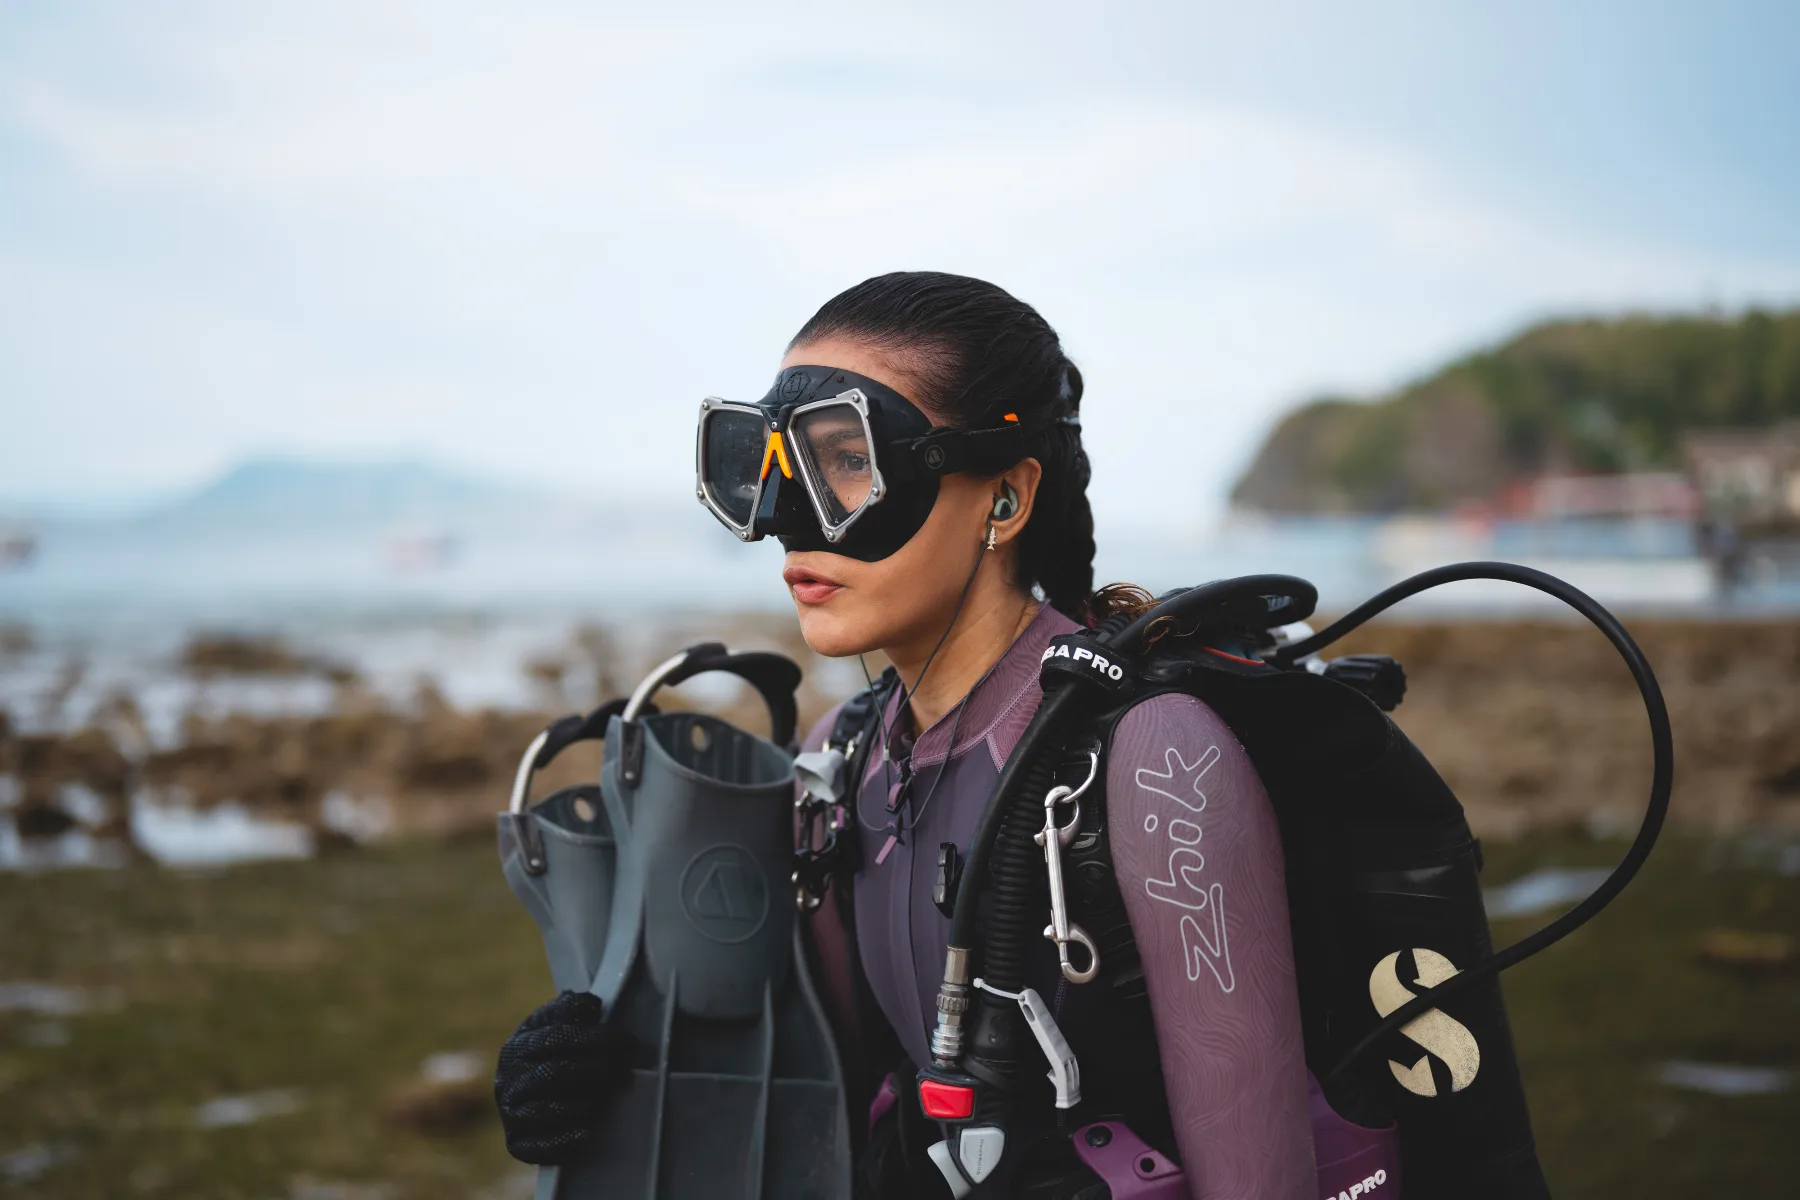
Buying your own scuba gear is the moment most divers stop borrowing other people’s equipment and start diving on their own terms. I bought my first dive computer twice. The first one was an entry-level model someone recommended because it was “good enough to start.” Eighteen months later I sold it at a loss and bought the one I should have bought in the first place. That’s a story most divers can tell, with different gear in the starring role and the same dented wallet at the end.
This guide is the one I wish someone had handed me on the day I decided to stop renting. It’s built around a single idea: buy gear once, dive with it for a decade, and pack it all in carry-on.
Premium and travel-friendly aren’t opposites. They usually overlap. The lightest gear is often the best-engineered, because the people designing it know serious divers fly with their kit and curse at the check-in scale.
If you are not certified yet, hold off on all of it except a mask. Rental is included in most course prices, and knowing what scuba diving certification costs tells you what you are already paying for before you spend anything on kit.
Here are the six pieces I’d buy, in no particular order, if I were starting over.
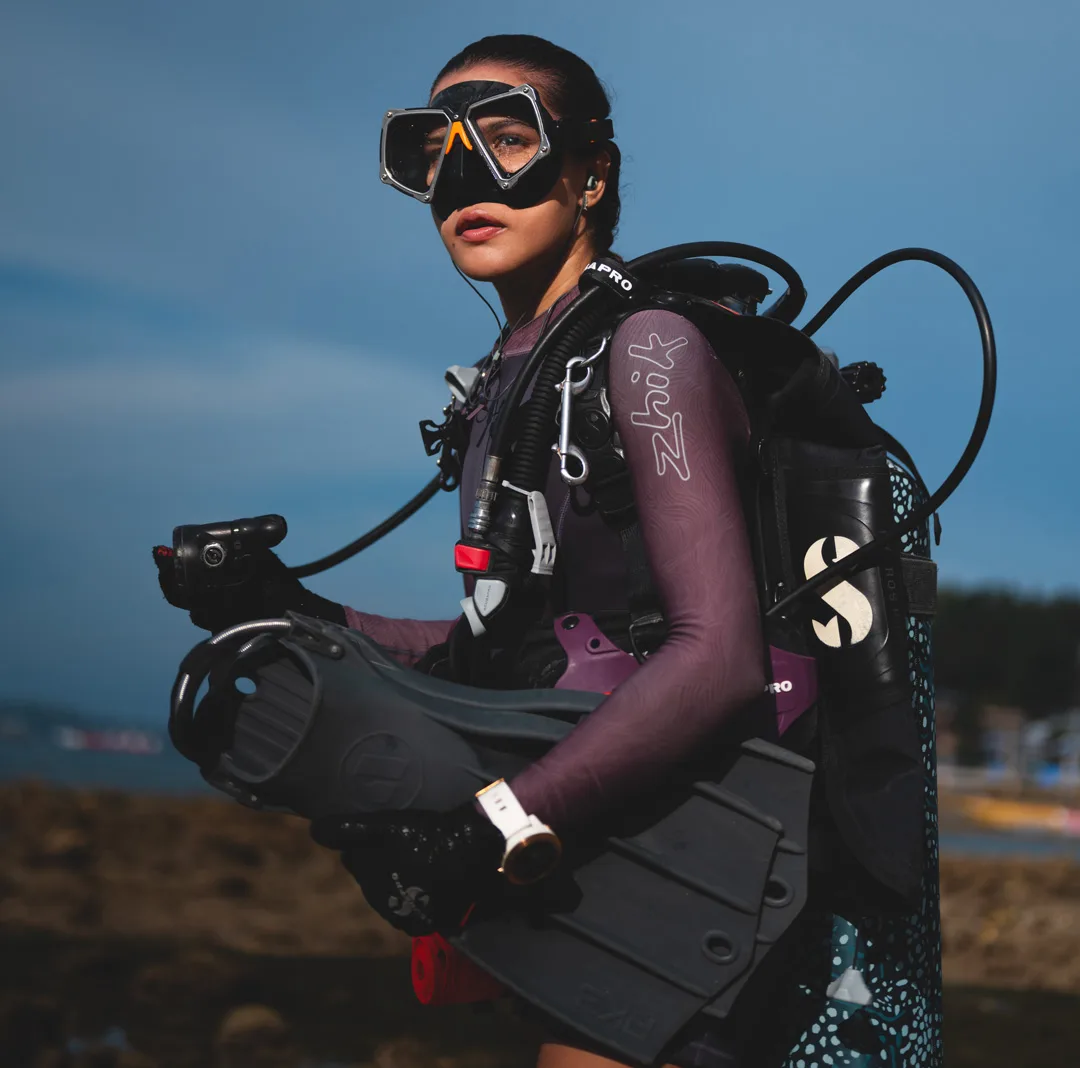
1. The Mask
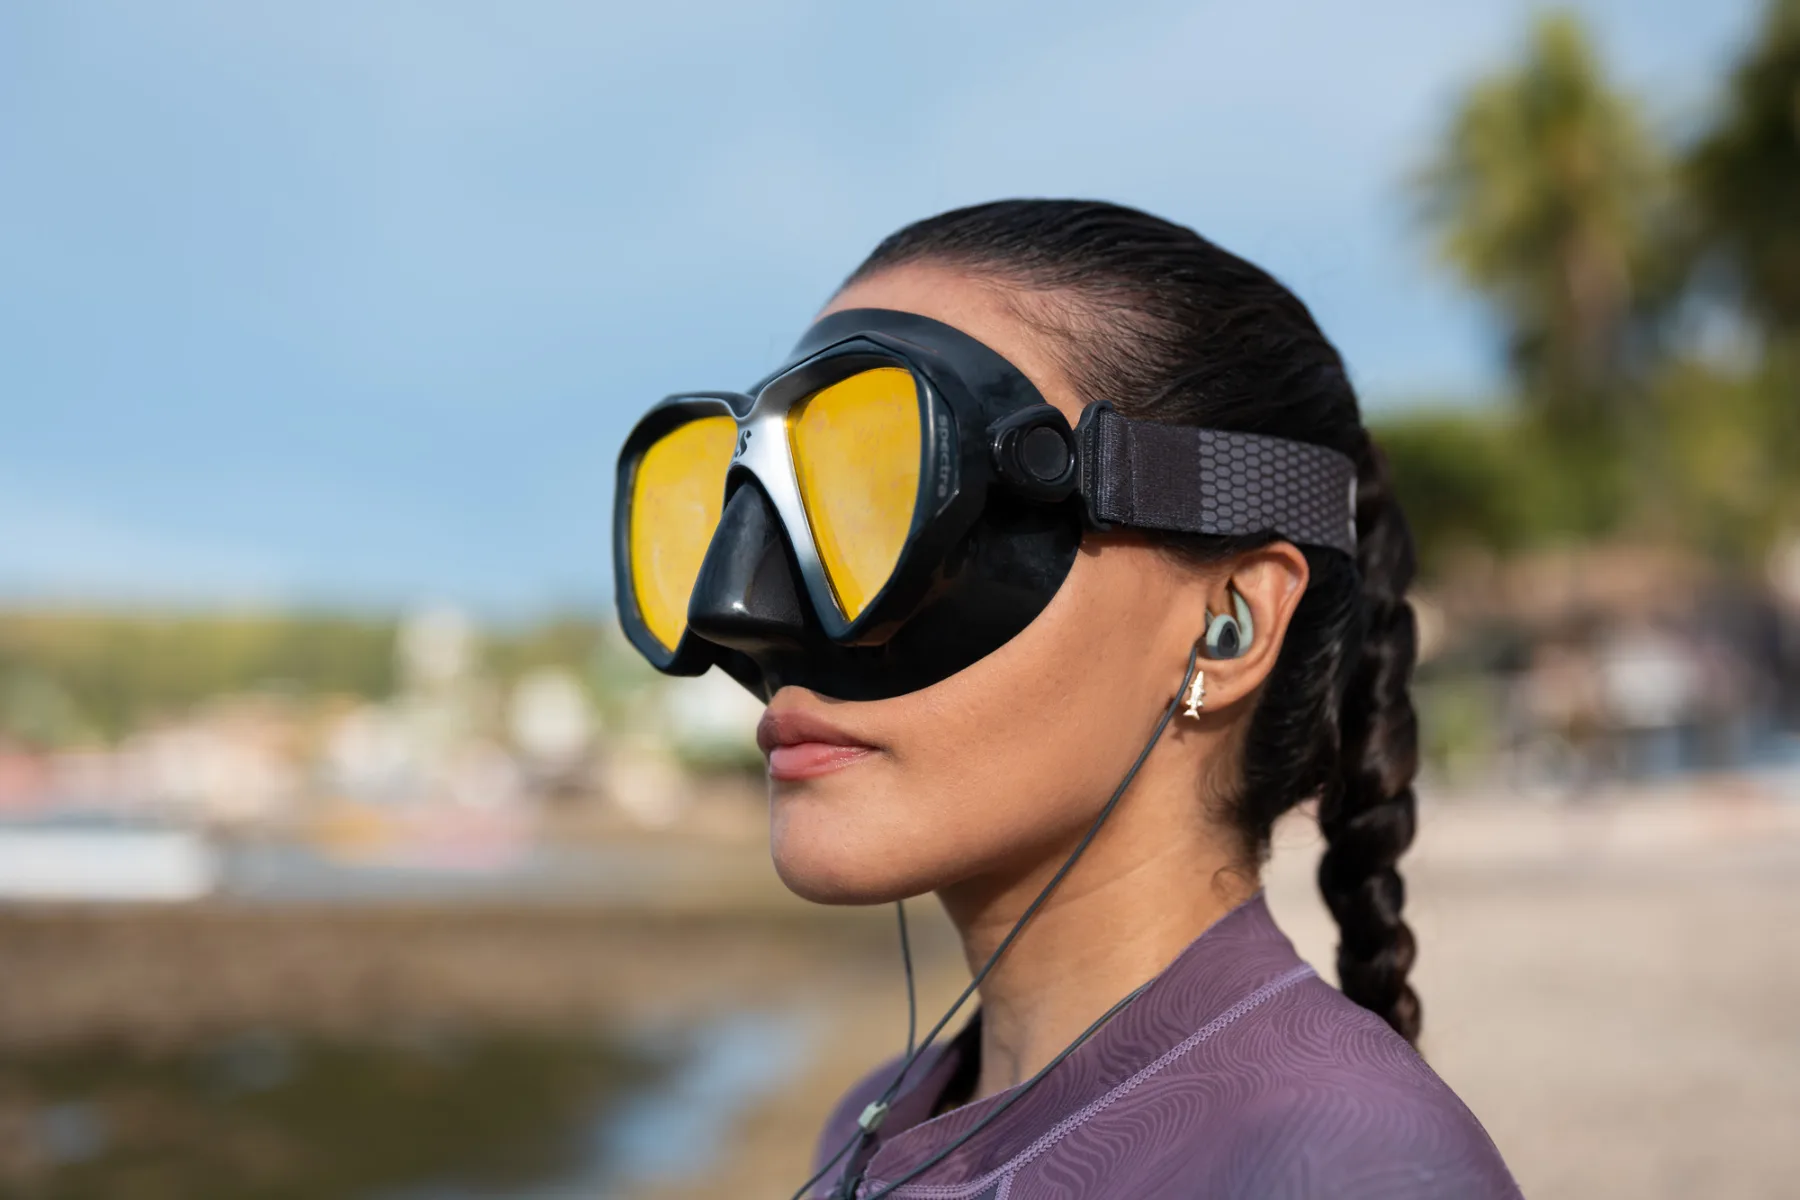
The mask is the most personal piece of forever gear on this list. Everyone’s facial structure is different, which means there is no single “best” mask. The best mask is the one that fits your face. It’s also one of the more affordable pieces here, though “affordable” in diving still means $80 to $200 for anything good, because nothing in this sport is truly cheap. The single most useful thing you can do is walk into a dive shop and physically try several on. Press the mask against your face without the strap, look down, and inhale gently through your nose. A mask that seals properly will stay on under suction alone. A mask that doesn’t will leak no matter how much you pay for it.
One trap to avoid: don’t buy a freediving mask for scuba. They look sleek, and are usually cheaper but they’re built low-volume for breath-hold diving, and on scuba that costs you field of view and a faster flood. Try the mask on dry, press it to your face without the strap, breathe in through your nose and let go. If it holds on its own, it fits you. If it slides, no strap tension will fix it.
What to look for:
- A good seal on your face when tested without the strap. This is the only test that matters.
- Tempered glass, not plastic. This is not negotiable.
- A skirt colour that matches your preference. Black silicone blocks peripheral light and is often preferred for photography, since it reduces reflections in the lens. Clear silicone lets in more light and feels more open underwater, which some divers strongly prefer. Both are valid; this is preference, not performance.
- A spare mask strap in your save-a-dive kit. Original straps snap at the worst possible moment.
- A mask strap cover if you have long hair, so the strap doesn’t catch and pull on every kick. Or skip the rubber strap entirely and use an elastic one like the Fourth Element or Scubapro versions. They’re more comfortable, gentler on long hair, and don’t catch.
Try it on before you buy. A mask that fits one face perfectly will leak on the next.
What I dive: Scubapro Spectra Dive Mask and Apeks VX2 Dive Mask
2. Fins
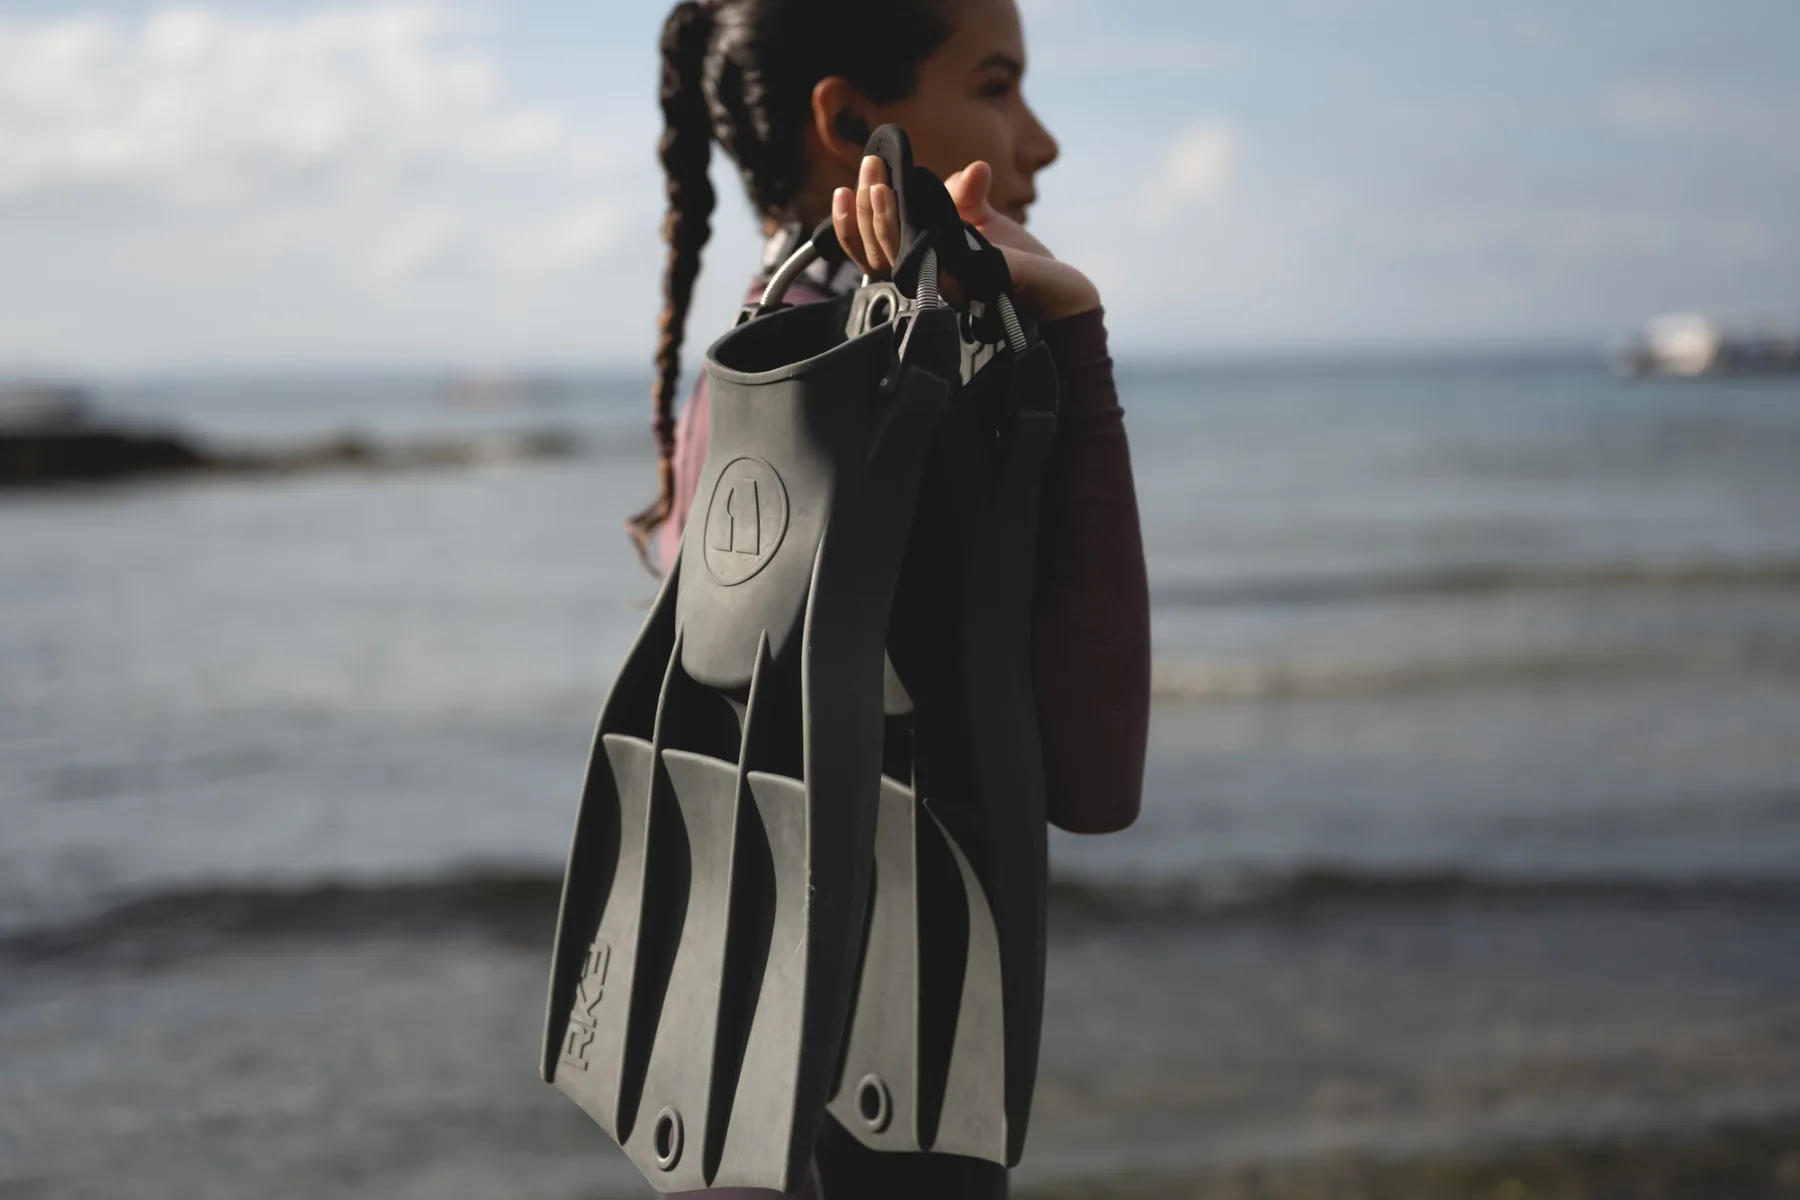
Fins might look like a commodity to some. They’re not. The right pair shapes your kicking technique for years. The wrong pair turns every dive into a leg workout you didn’t sign up for.
Open-heel paddle or modified-paddle fins paired with proper boots is the setup most divers settle on for a reason. It carries you from your first reef dive to your first wreck and asks no questions. Full-foot fins are fine for warm-water boat diving where you don’t need foot protection, but the open-heel paddle is the better long-term choice.
What to look for:
- Negatively buoyant or neutral. Floaty fins fight you on every kick.
- Stiff enough for frog kicking, flexible enough for flutter.
- Spring straps instead of rubber buckles. Faster on, faster off, and they won’t snap on the boat ladder while everyone watches.
- A size that actually fits your foot. Many premium fin manufacturers seem to believe nobody under a size 8 dives.
What I dive: Apeks RK3 fins.
3. The Boots
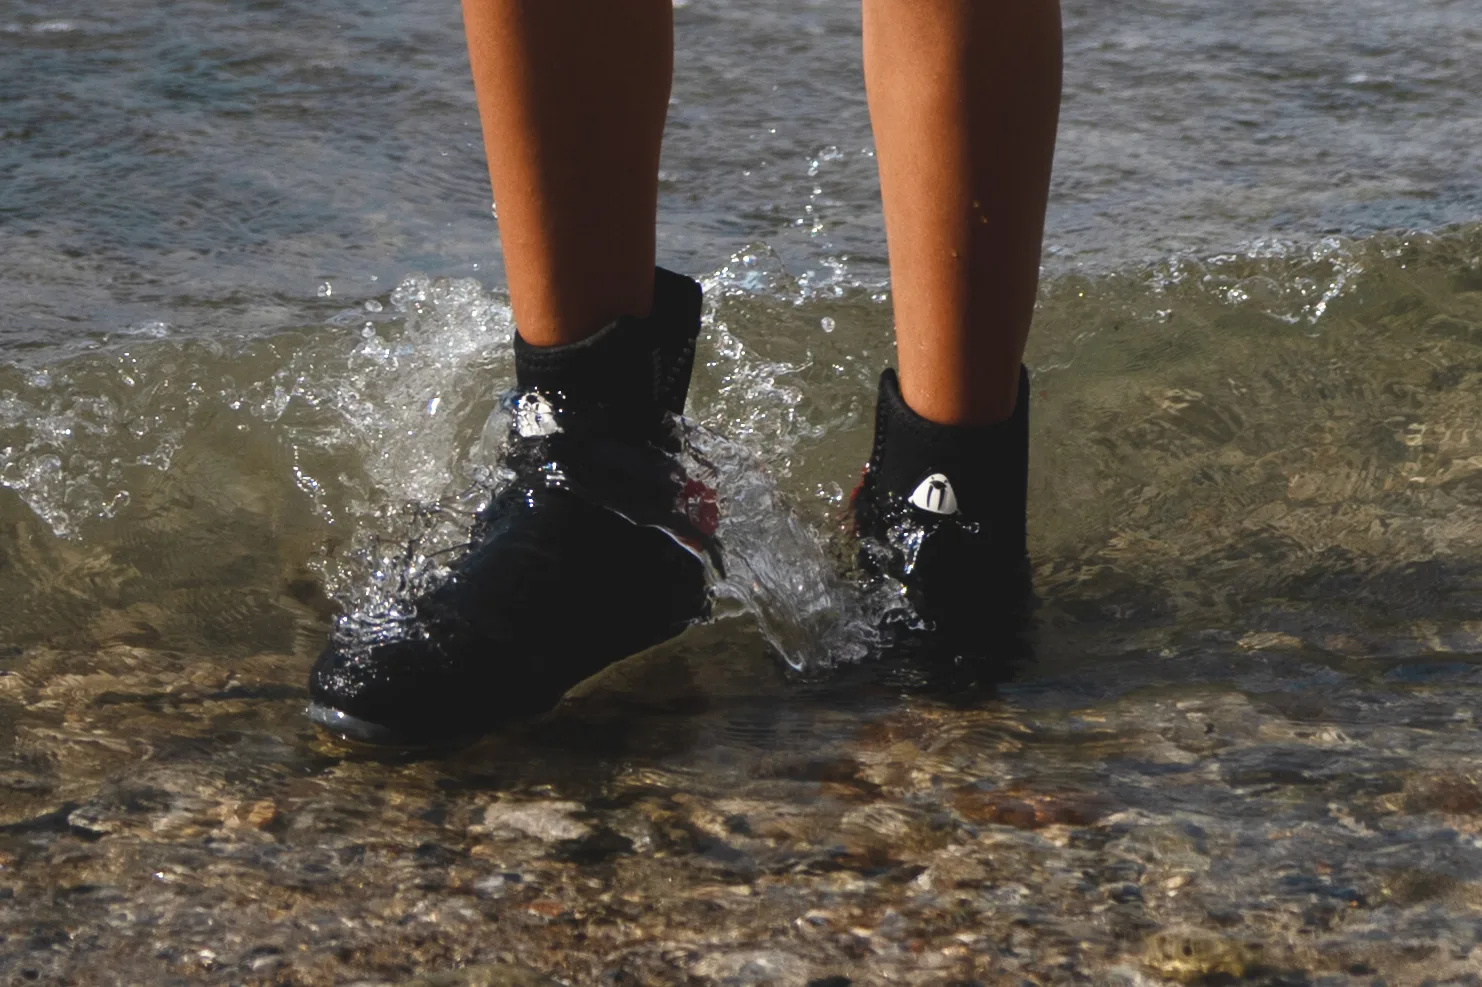
Probably the most overlooked piece on this list, and the one that quietly makes or breaks a dive. Open-heel fins are unusable without them, and the right pair stops thirty other small problems before they start.
Boots protect your feet on shore entries over rock or anything else uneven, stop the open-heel foot pocket from rubbing, and add real warmth on cooler dives. The cheapest possible upgrade that affects almost every dive.
What to look for:
- 5mm hard-soled for general tropical and temperate diving. The default that covers most conditions.
- 3mm if you only dive warm water from a boat and never walk in.
- 6.5mm or 7mm for cold water, with reinforced soles if you shore-dive over rough substrate.
- Side or back zip for getting them on and off without a fight, especially after a long dive when your feet are pruned.
- A heel pad reinforcement if you shore-dive on volcanic or rocky substrate.
Rinse them in fresh water after every dive and leave them out to dry. You will not. The smell will remind you eventually.
What I dive: Waterproof B2 6.5mm semi-dry boots.
4. The Dive Computer
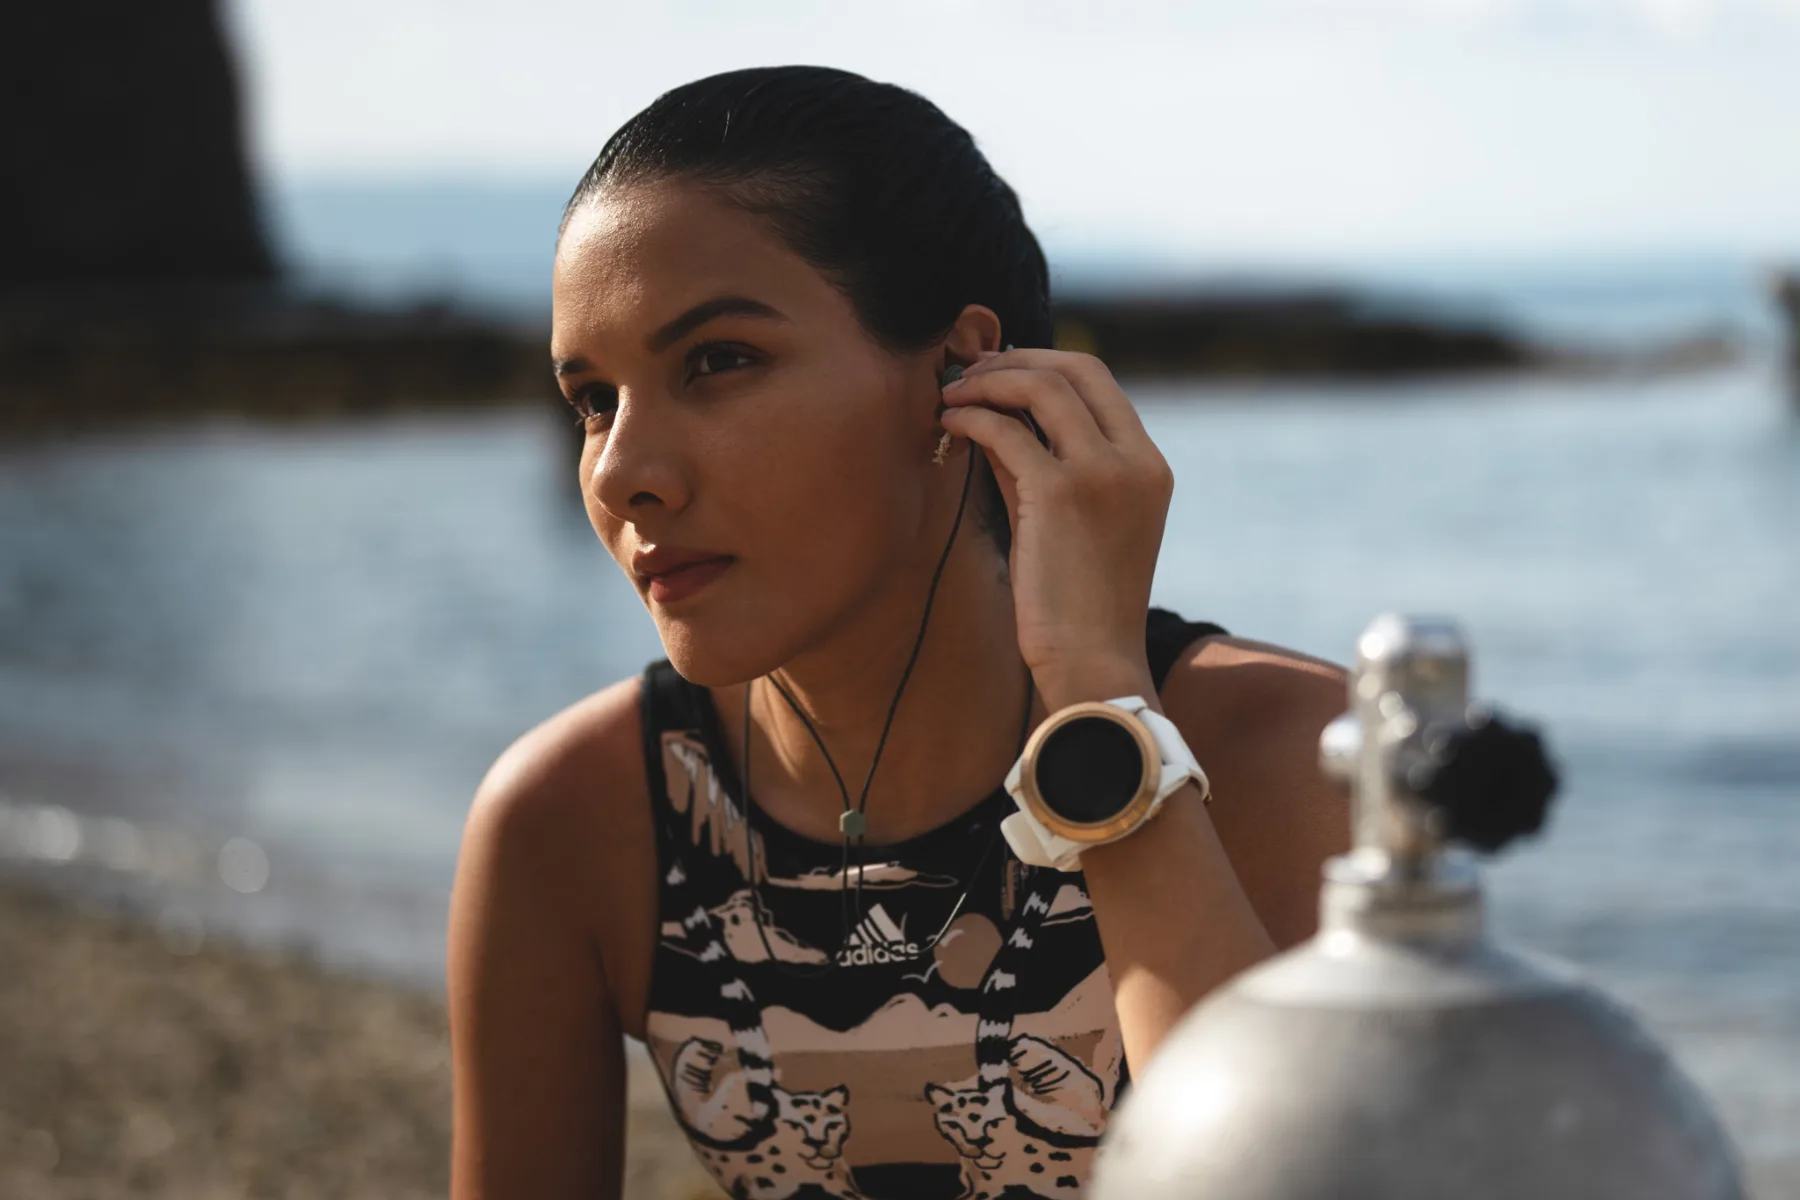
Every diver needs their own. No exceptions, no sharing, no “we’ll just use yours and dive the same profile.” Two divers on the same dive can come up with very different decompression profiles, and a borrowed computer doesn’t know what your last dive looked like.
How much computer you need depends entirely on how often you dive and what you dive. There is no one right answer here.
If you only dive on holiday once or twice a year, an entry-level computer is enough. The Suunto Zoop Novo is the most popular rental dive computer in the world for a reason. It tracks depth, time and no-decompression limit reliably, the design is clunky but it works, and it’s about as fool-proof as a dive computer gets. The Mares Puck Pro sits in the same tier. If your dive plan is “two tanks a year in clear warm water,” these are genuinely fine.
If you dive more regularly, the mid-range tier is the better long-term buy. The Shearwater Peregrine has become the do-everything choice for divers who want a colour screen, a readable interface, and algorithm options without paying for tech-grade features. The Suunto D5 and the Mares Quad sit in similar territory. This is the tier most active recreational divers settle into.
At the top end, computers like the Shearwater Teric, Garmin Descent Mk3 and Suunto Ocean add air integration via a wireless transmitter, multi-gas switching, watch-sized daily wear, and the kinds of features dive guides and tech divers actually use. The air transmitter is the upgrade most worth considering at this tier; knowing your gas pressure on your wrist instead of having to find your console is a small change that compounds across hundreds of dives.
A note on the Apple Watch. The Apple Watch Ultra is marketed with a scuba-diving feature via the Oceanic+ app and is sometimes pitched as a dive-computer alternative. As of 2026 it is not entirely reliable: depth readings have been inconsistent across user reports, battery life at depth is short, and the dive community generally treats it as a casual or backup tool, not as a primary dive instrument. If you own one already, dive it alongside a proper computer rather than instead of one.
What to look for:
- A screen you can read in bright sunlight. Colour for mid-range and up, monochrome is fine for entry.
- Air integration capability if you might add a transmitter later.
- Conservative algorithm with adjustable settings if you dive often.
- A battery you can either recharge or buy easily wherever you are. Hunting for a CR2450 in a remote dive town on a Sunday is a memorable experience.
- Watch-sized if you want to wear it on land between trips.
What I dive: Atmos Mission. Full notes in the dive computer guide.
5. The Regulator
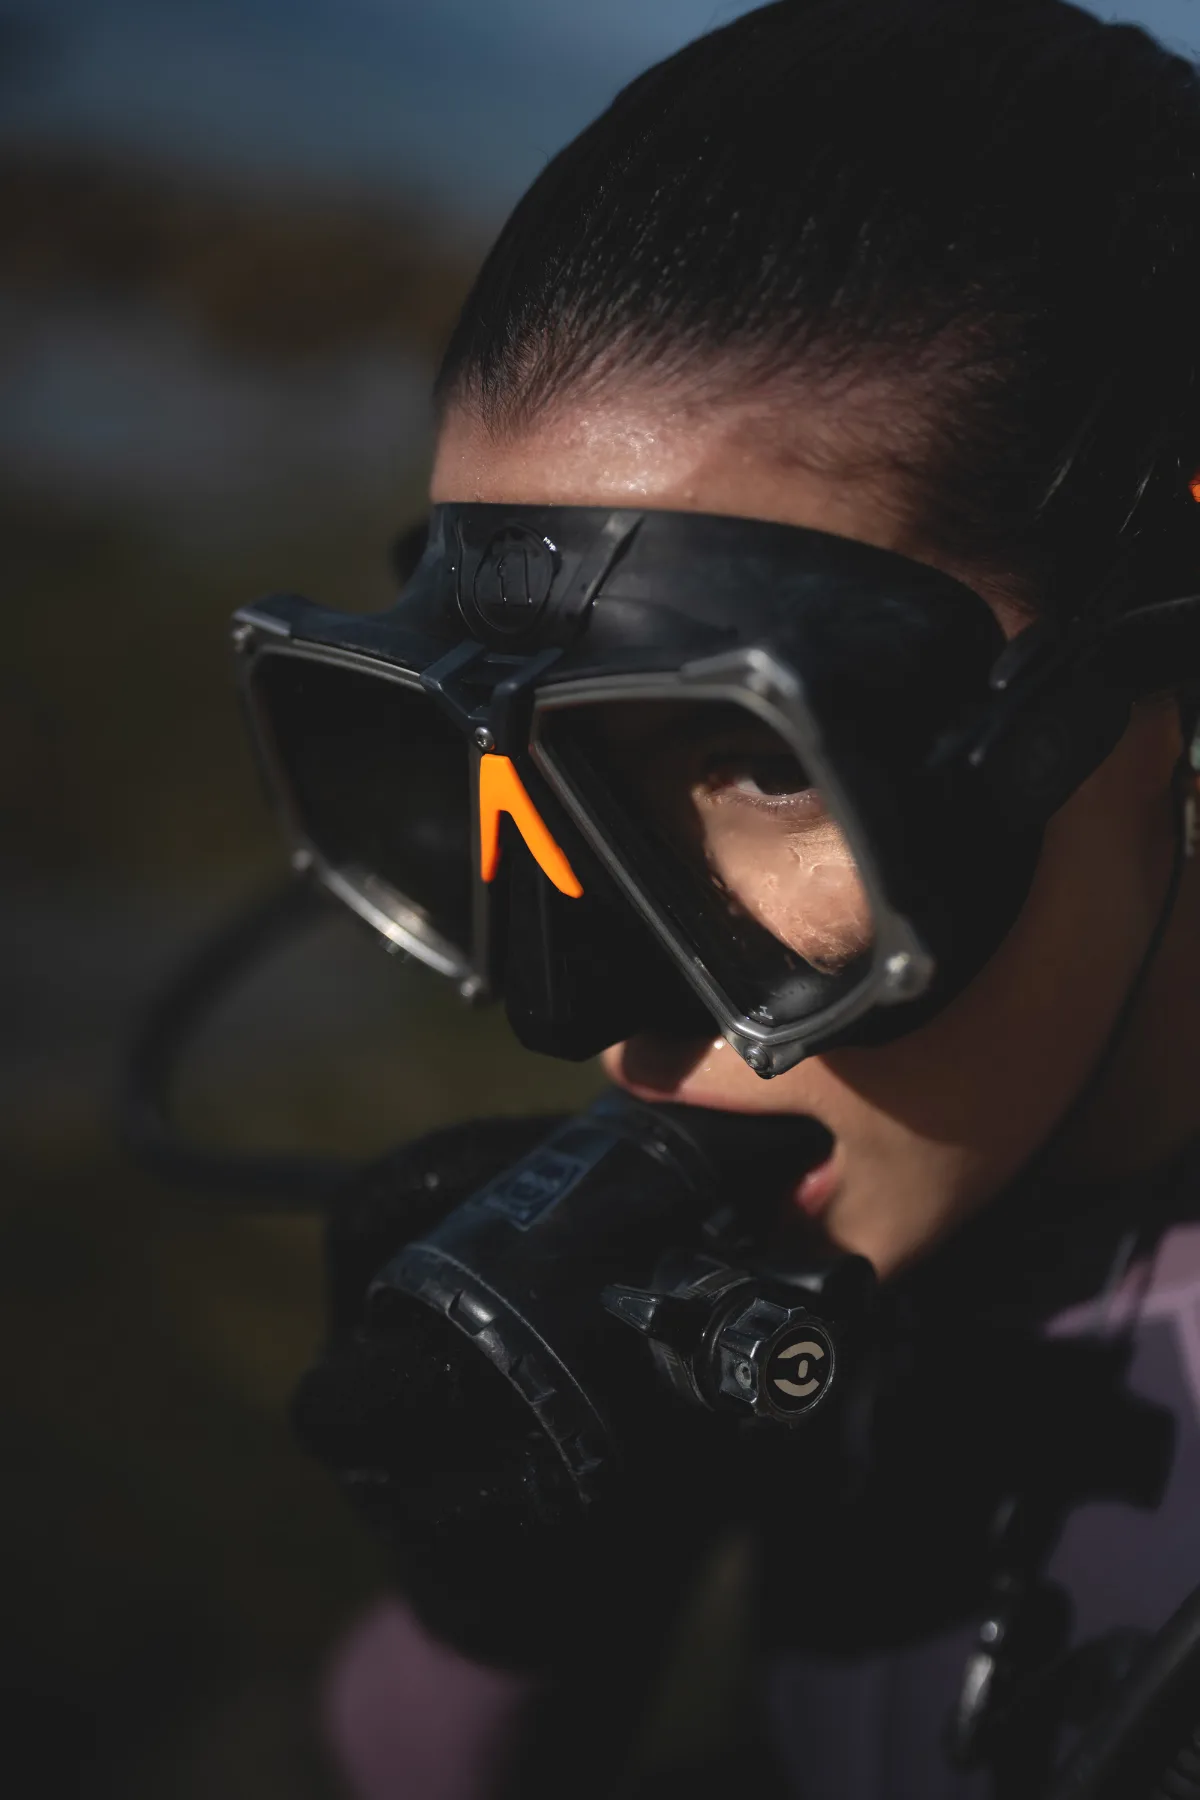
Some people would tell you to wait on regulators. I disagree. With regs, you get what you pay for. If you find one that’s suspiciously cheap, assume there’s a reason, and that the reason is somewhere between “discontinued” and “don’t.” This is the one piece of gear where cutting corners can cost you more than money. Rental regs are a lottery, and the prize is sometimes a regulator that breathes like a kazoo.
Some shops service them religiously. Some don’t. You won’t know which kind of shop you’re at until something goes wrong at depth.
I’ve worked as a dive master, and the issues I’ve seen up close are not pretty. Free-flows that empty a tank in minutes. Second stages that breathe wet from dive one. First stages weeping bubbles the moment they’re pressurised. Octopuses that won’t purge. None of this is rare. It’s the cost of relying on someone else’s maintenance schedule, which in some places is “when it stops working.”
A good personal reg, serviced once a year, will outlive your diving career, and that holds whether you’re a recreational diver doing twenty dives a year or a working guide doing five hundred.
What to look for:
- A balanced diaphragm first stage, cold-water rated even if you only dive warm. Future you will thank present you.
- DIN is more secure than yoke. Most rental tanks globally are yoke, so a cheap yoke-to-DIN adapter (they weigh almost nothing and cost around $20) lets your DIN reg attach to either kind of tank anywhere in the world.
- A lightweight second stage, ideally under 200 grams.
- Environmentally sealed first stage if there’s any chance you’ll dive cold or silty water.
Pro tips
A travel-grade reg set weighs under a kilo and packs into the corner of a carry-on. You’ll never wonder about its service history again, because the answer will be “I did it in March.”
If you’re at all squeamish about what your mouth has been on in rental gear, the day your own regs arrive will quietly change your life 🫢 For everything else, what to look for, what to avoid, and how to choose, see my dedicated guide on how to find the perfect regulator.
A note from experience ⚠️ I once invested heavily in a regulator from a brand (Hollis) that later issued a recall and then left me with no real solution, despite promising one. It’s the reason I now tell every diver to check a brand’s customer-service reputation before its spec sheet. A recall is bad luck; being abandoned afterward is a choice the company makes. I tell the full (and expensive) story in my regulator guide.
6. The BCD
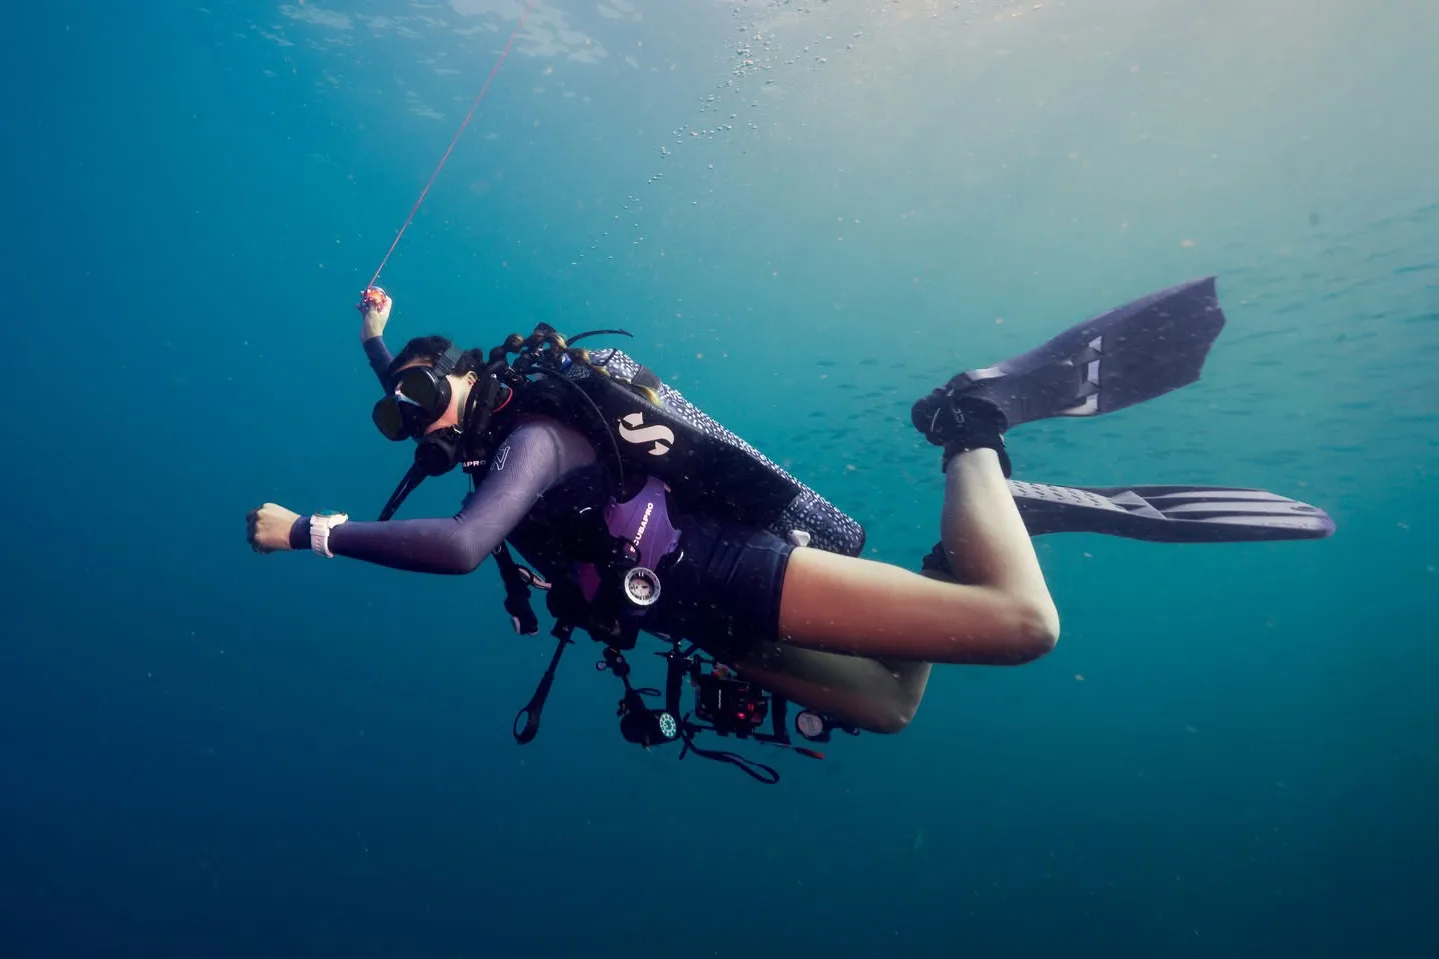
If you’re moving from rental to your own kit, the Buoyancy Control Device is one of the most transformative purchases you’ll make. Rental BCDs are adjusted for the last person who used them, not for you, and they tend to be bulky, heavy jacket-style units built to survive a thousand careless renters rather than to fit anyone in particular. The fit ranges from acceptable to bad, and you only really notice the difference once you’ve dived in one that’s made for your body.
The right BCD disappears on you. The wrong one rides up around your ears, pinches your hips, and reminds you of itself on every kick. That difference compounds across a week of diving. The trap most new buyers fall into is grabbing the same jacket-style BCD they trained in because it’s familiar, which is the whole reason choosing a BCD for recreational diving deserves its own think. The better move is finding the right fit for your body and the kind of diving you actually do, rather than the most generic option in the shop.
One thing worth knowing here: some brands make gender-specific BCDs, cut separately for men’s and women’s bodies, because the fit through the torso, hips and chest is genuinely different. A women’s-specific cut can be the difference between a BCD that sits right and one that fights you all dive. Hybrid and back-inflate designs offer better trim, better travel weight, and don’t squeeze you when fully inflated at the surface, but the deciding factor is always how it fits you.
What to look for:
- A cut that fits your body. Try on multiple sizes and styles in the shop, with the same weight you’d dive with, before you commit.
- Integrated weight pockets that release cleanly. Test them in the shop. Integrated pockets also mean you skip the bulky weight belt that digs into your hips on long surface swims and slips down every time you bend over.
- Back inflate or hybrid is often more comfortable than pure jacket for most divers, but jacket-style still works well for some. Body shape and how you trim in the water decide this, not marketing copy.
- Travel weight under 3kg if you fly to dive.
- Fast-drying material. The boat ride home is wet enough.
- Modular construction so you can replace bladders or straps without binning the whole thing.
Like regulators, BCDs need a regular (annual) service, particularly the inflator mechanism and the dump valves. A sticky dump valve at six metres on ascent is the kind of small failure that turns a routine dive into a less routine one.
The “buy it for life” version of this purchase isn’t necessarily the most expensive. It’s the one that fits your body and the kind of diving you actually do.
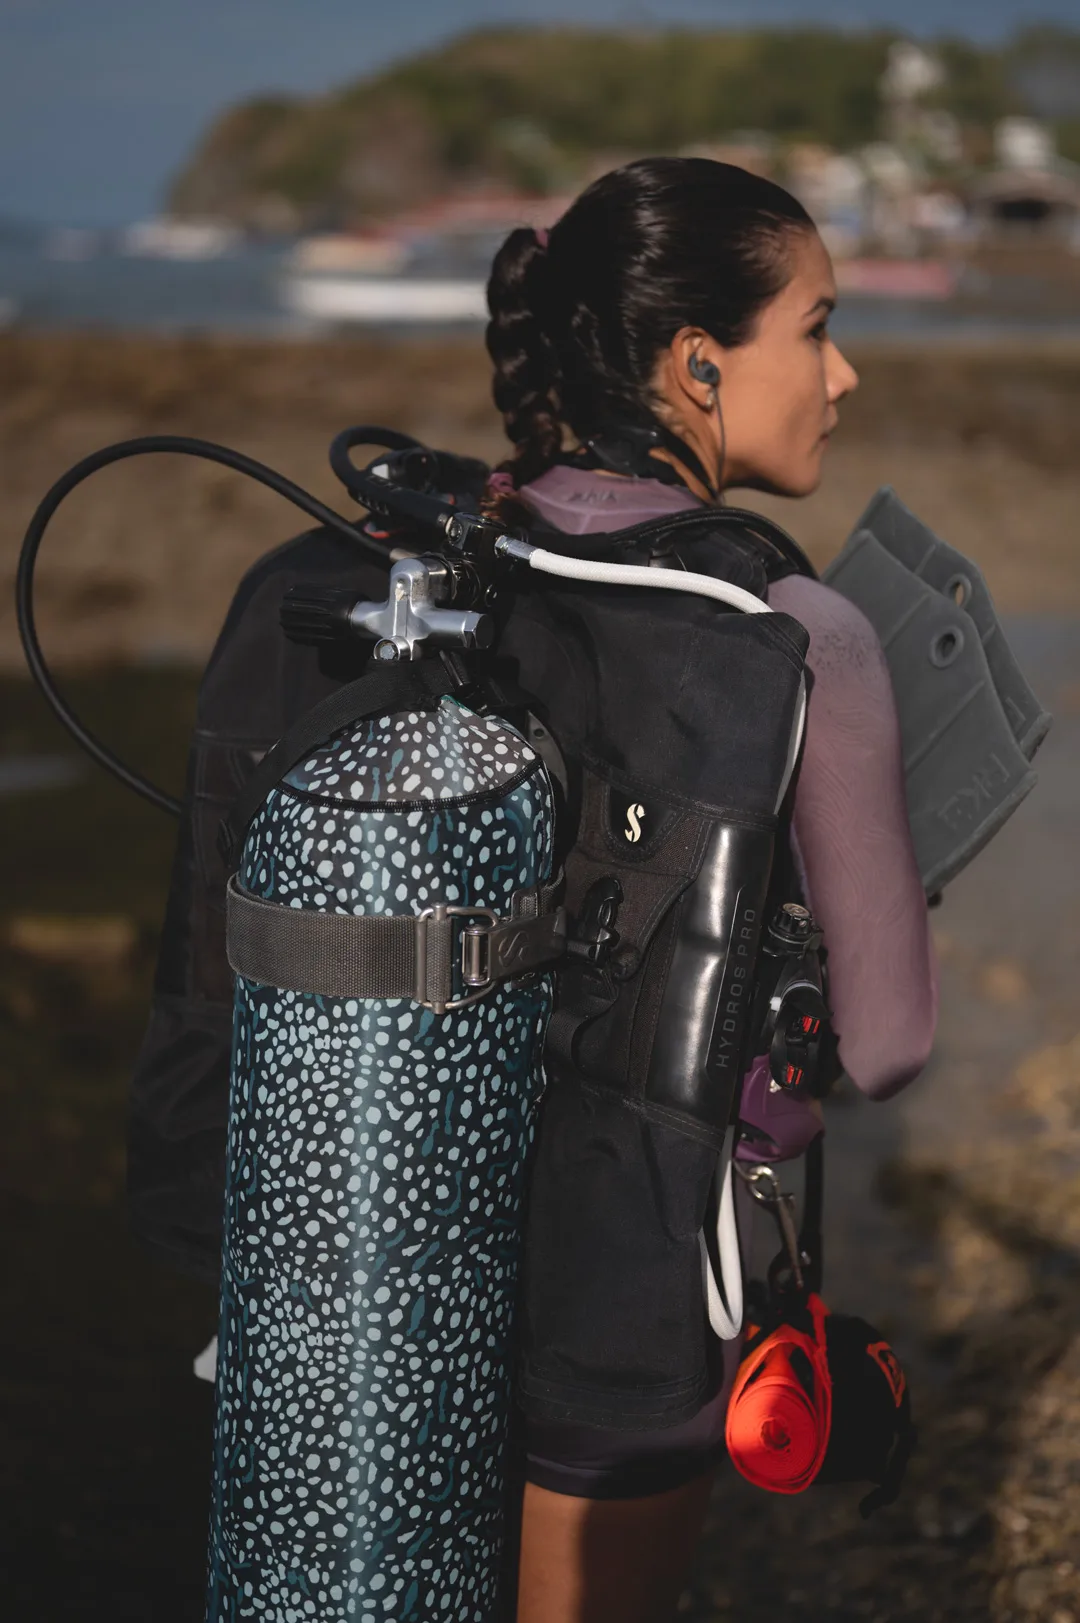
What I dive: Scubapro Hydros Pro Women’s. Hybrid design, monoprene material that dries on the boat, and the women’s cut sits properly on the shoulders. Worth the investment. More in the BCD guide.
The Save-a-Dive Kit
This is the piece nobody talks about, and it might matter more than any single item above.
A broken o-ring costs a few dollars. A ruined dive trip costs thousands. A save-a-dive kit is the bridge between those two numbers, and the reason the most popular diver on any boat is the one who packed extras.
What goes in it:
- An o-ring assortment for yoke, DIN, and hoses.
- A spare mask strap and a spare fin strap.
- A spare mouthpiece and a handful of zip ties. Zip ties solve more dive problems than they have any right to.
- A multi-tool with hex keys that fit your reg.
- Defog, ear drops, and a small tube of silicone grease.
- A spare computer battery, or your charging cable.
- A Sharpie, electrical tape, and a couple of small carabiners.
The whole thing fits in a small dry bag, weighs under half a kilo, and pays for itself the first time something snaps. After that, it pays for itself in goodwill from the diver you just saved.
The DSMB -Essential Pieceof Equipment
When you’re new and just fun diving, the standard advice is to let your guide handle the DSMB, the delayed surface marker buoy, the inflatable tube or “balloon” you send up before a safety stop or in an emergency to tell boats “divers here, coming up.” It’s reasonable advice. It’s also a habit worth breaking early. I think every diver should carry their own, open water level included. A DSMB only protects you if it’s actually with you. The day a current pushes you off the group, or you surface away from your guide in busy boat traffic, their marker does you no good, and that’s exactly the day you’ll wish you had your own. It’s small, affordable, and packs down to nothing. Learn to deploy it properly, carry it on every dive, and you’ve removed one more reason to depend on someone else being in the right place at the right time. And even if you only ever inflate it at the surface, it’s a piece of kit you’ll be glad to have on you.
What Can Wait
A wetsuit. If you’re fine using a communal rental wetsuit, just know that some people definitely pee in them. With that out of the way, what you actually need depends on where you dive. In warm tropical water, a rashguard and leggings (sometimes called “skins”) give you sun protection and a little chafe defence without the bulk of a full suit. They’re also the reef-friendly choice: covering up means you’re not slathering on sunscreen before a dive, and most sunscreens, even many labelled “reef-safe,” wash off into the water and contribute to coral damage. Fabric doesn’t bleach a reef. A 3mm shorty works for slight chill. A full 3mm covers most general tropical diving. A 5mm or thicker is for cooler water and the kind of long surface intervals where the wind picks up. Owning your own becomes worth it once you know what conditions you dive most, and a custom suit fits you specifically and adds noticeable warmth at the same thickness. More in the best scuba diving wetsuits for women.
A camera. Not for at least 30 dives. Carrying a camera before your buoyancy is dialled in means worse photos and worse diving, a remarkable two-for-one. When you’re ready, an underwater phone housing is the gentlest place to start. More in the underwater camera guide.
A tank or weights. Almost never worth owning unless you’re diving the same site regularly, have your own transportation and access to a compressor.
The Math: What Buying Your Own Scuba Gear Costs
Done properly, the six-piece kit above runs roughly $3,000 to $5,000. That sounds like a lot until you spread it across ten years and a few hundred dives. The diver who buys a $400 starter kit at year one and replaces half of it by year three pays more in the end, and never has the gear they actually want. They do, however, get very familiar with their local dive shop’s return policy.
Buy once. Pack light. Dive everywhere.